
Setup For Cloudflare Turnstile
To setup the Cloudflare Turnstile for your website, you need to have a Cloudflare account. This account doesn’t need to have any website set to use Cloudflare, the Turnstile service is independent offering that can be used by anyone.
Login to Cloudflare Dashboard
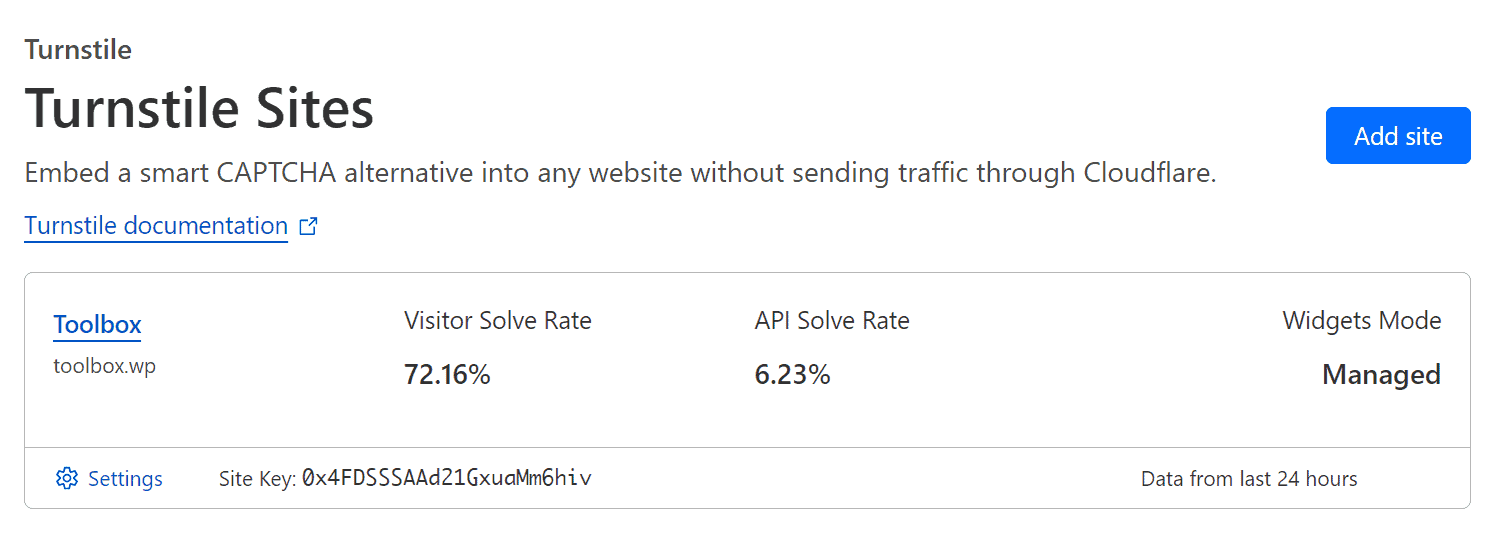
Login into the Cloudflare Dashboard. From the left side navigation, find Turnstile menu page. There you have ‘Add Site’ button.
Register new Turnstile website
The form to add new website, requires you to set the name first, followed by one or more domains. If you use Cloudflare, your domains can be listed direct, or you can type in any non Cloudflare domain and add it to the list.

You can add multiple domains under single Turnstile website. There are 3 modes available for Widget, and you can pick which one is best for you.
When it comes to last part – Pre-clearance, it is highly recommended to not use it, and set this value to ‘No’ in the website form.
When you click Create, new website will be added, and listed in the Turnstile dashboard.
Getting the website integration keys
When the new website is added, or later via the ‘Settings’ button for each Turnstile website, you can see the Site and Secret key.

If you use ‘Rotate Secret Key’ button, you will need to change the Secret Key in the coreSecurity Pro Turnstile integration feature settings.